Friday, May 27, 2022
EducationStream into Livepeer Video Services for the First Time
By
Shih-Yu Hwang
3 min read
Livepeer Video Services provides an easy way to implement live streaming into your application with an easy-to-use API. If you’re looking to test out Livepeer’s capabilities and try streaming for the first time without writing any code, this guide will walk you through the steps of creating an account, configuring OBS, and testing your stream.
Step 1: Create a free Livepeer Video Services account
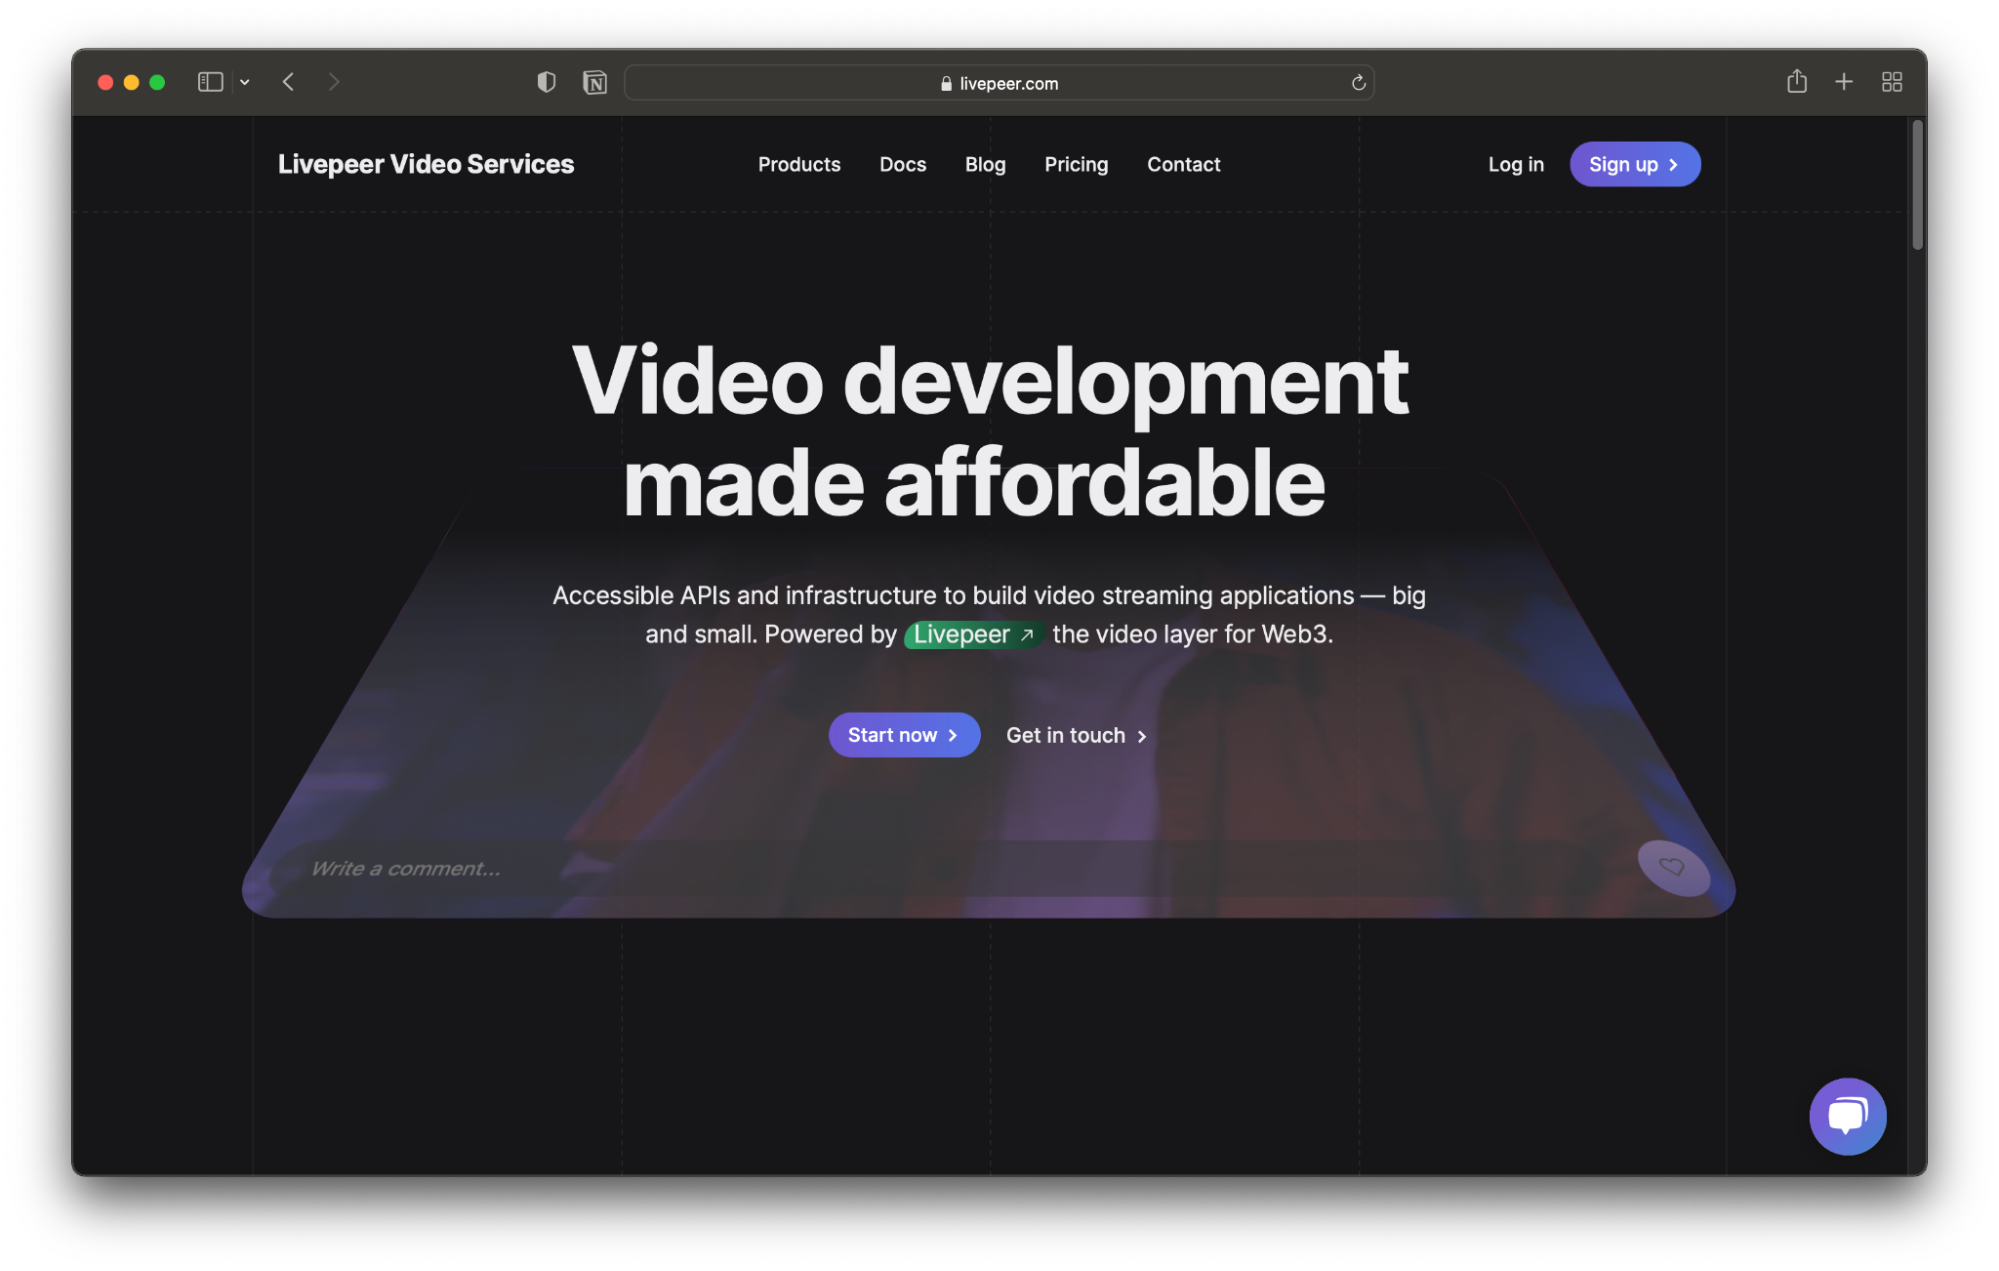
- Go to Livepeer.com and click the signup button.
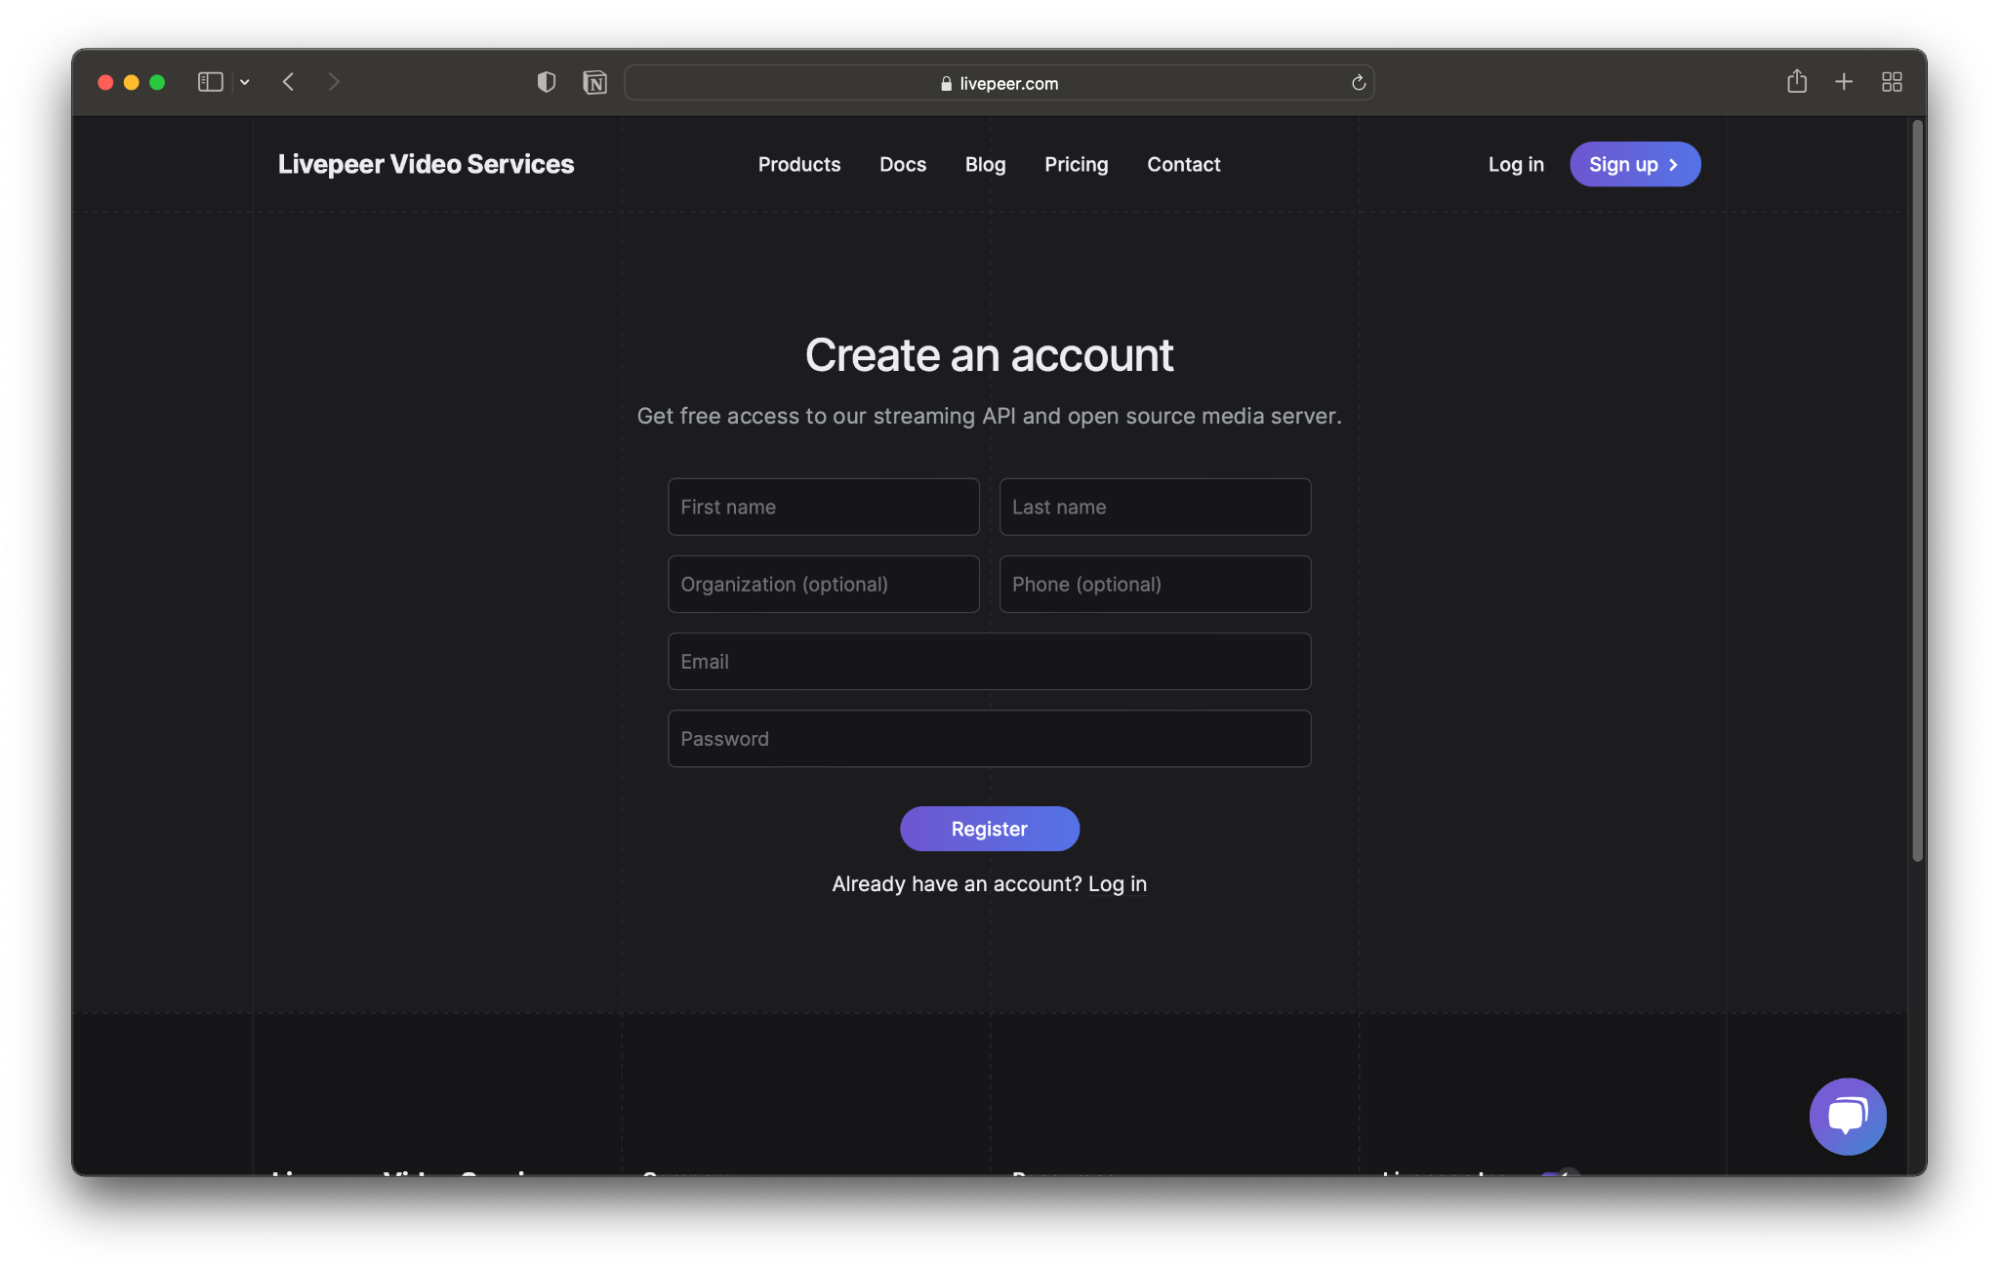
- Provide the requested information and click the Register button.
- Verify your account from the email sent after you registered.
Step 2: Create a stream
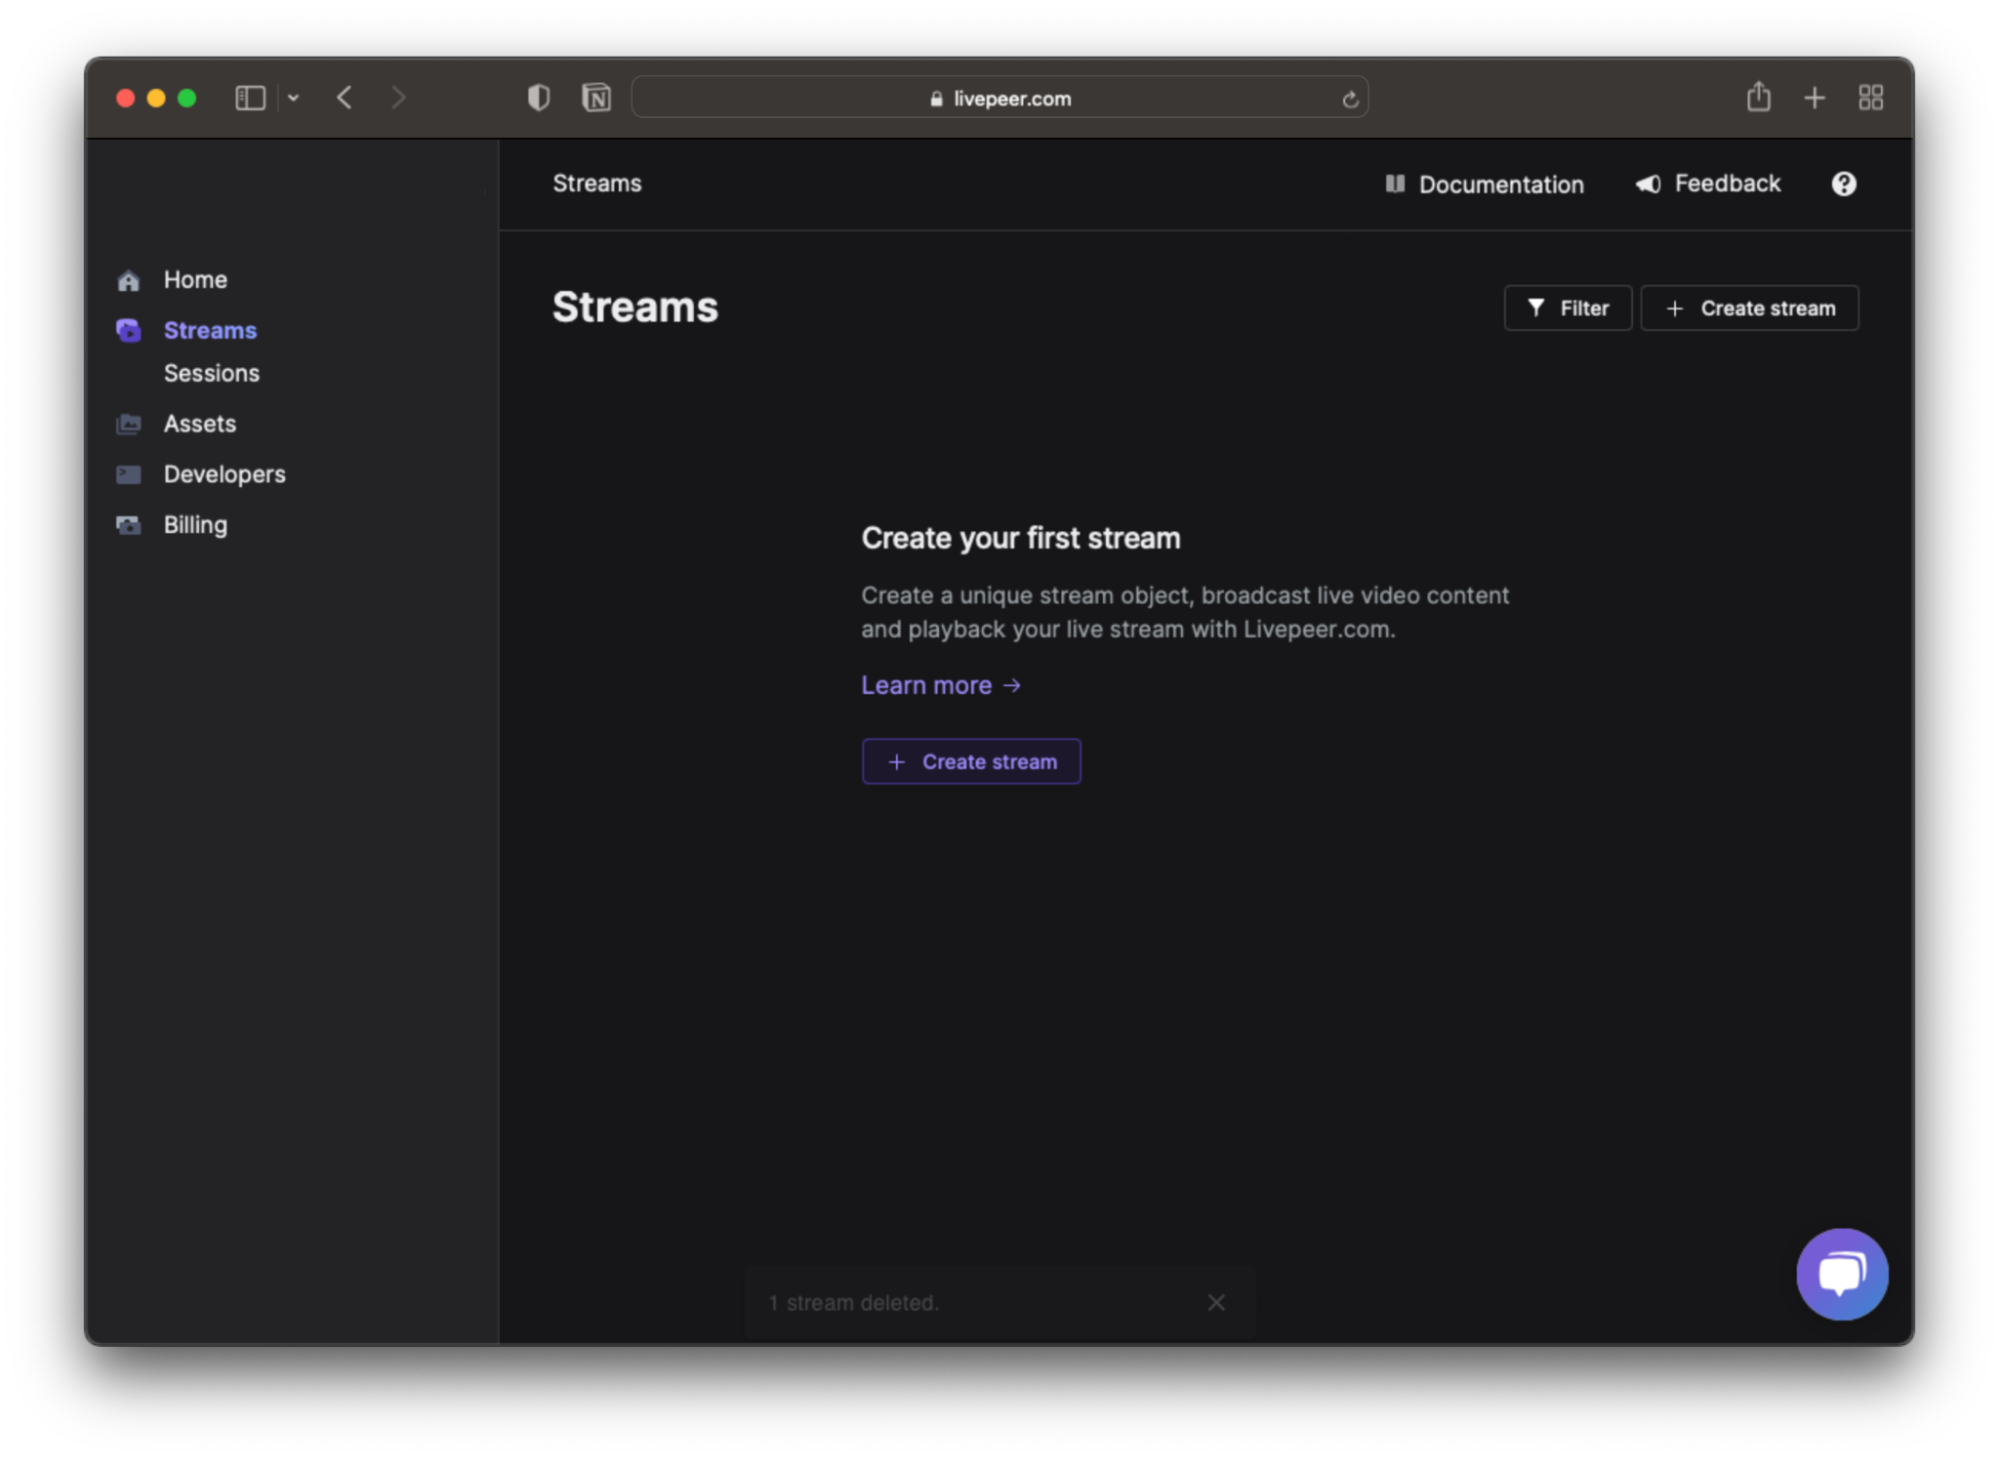
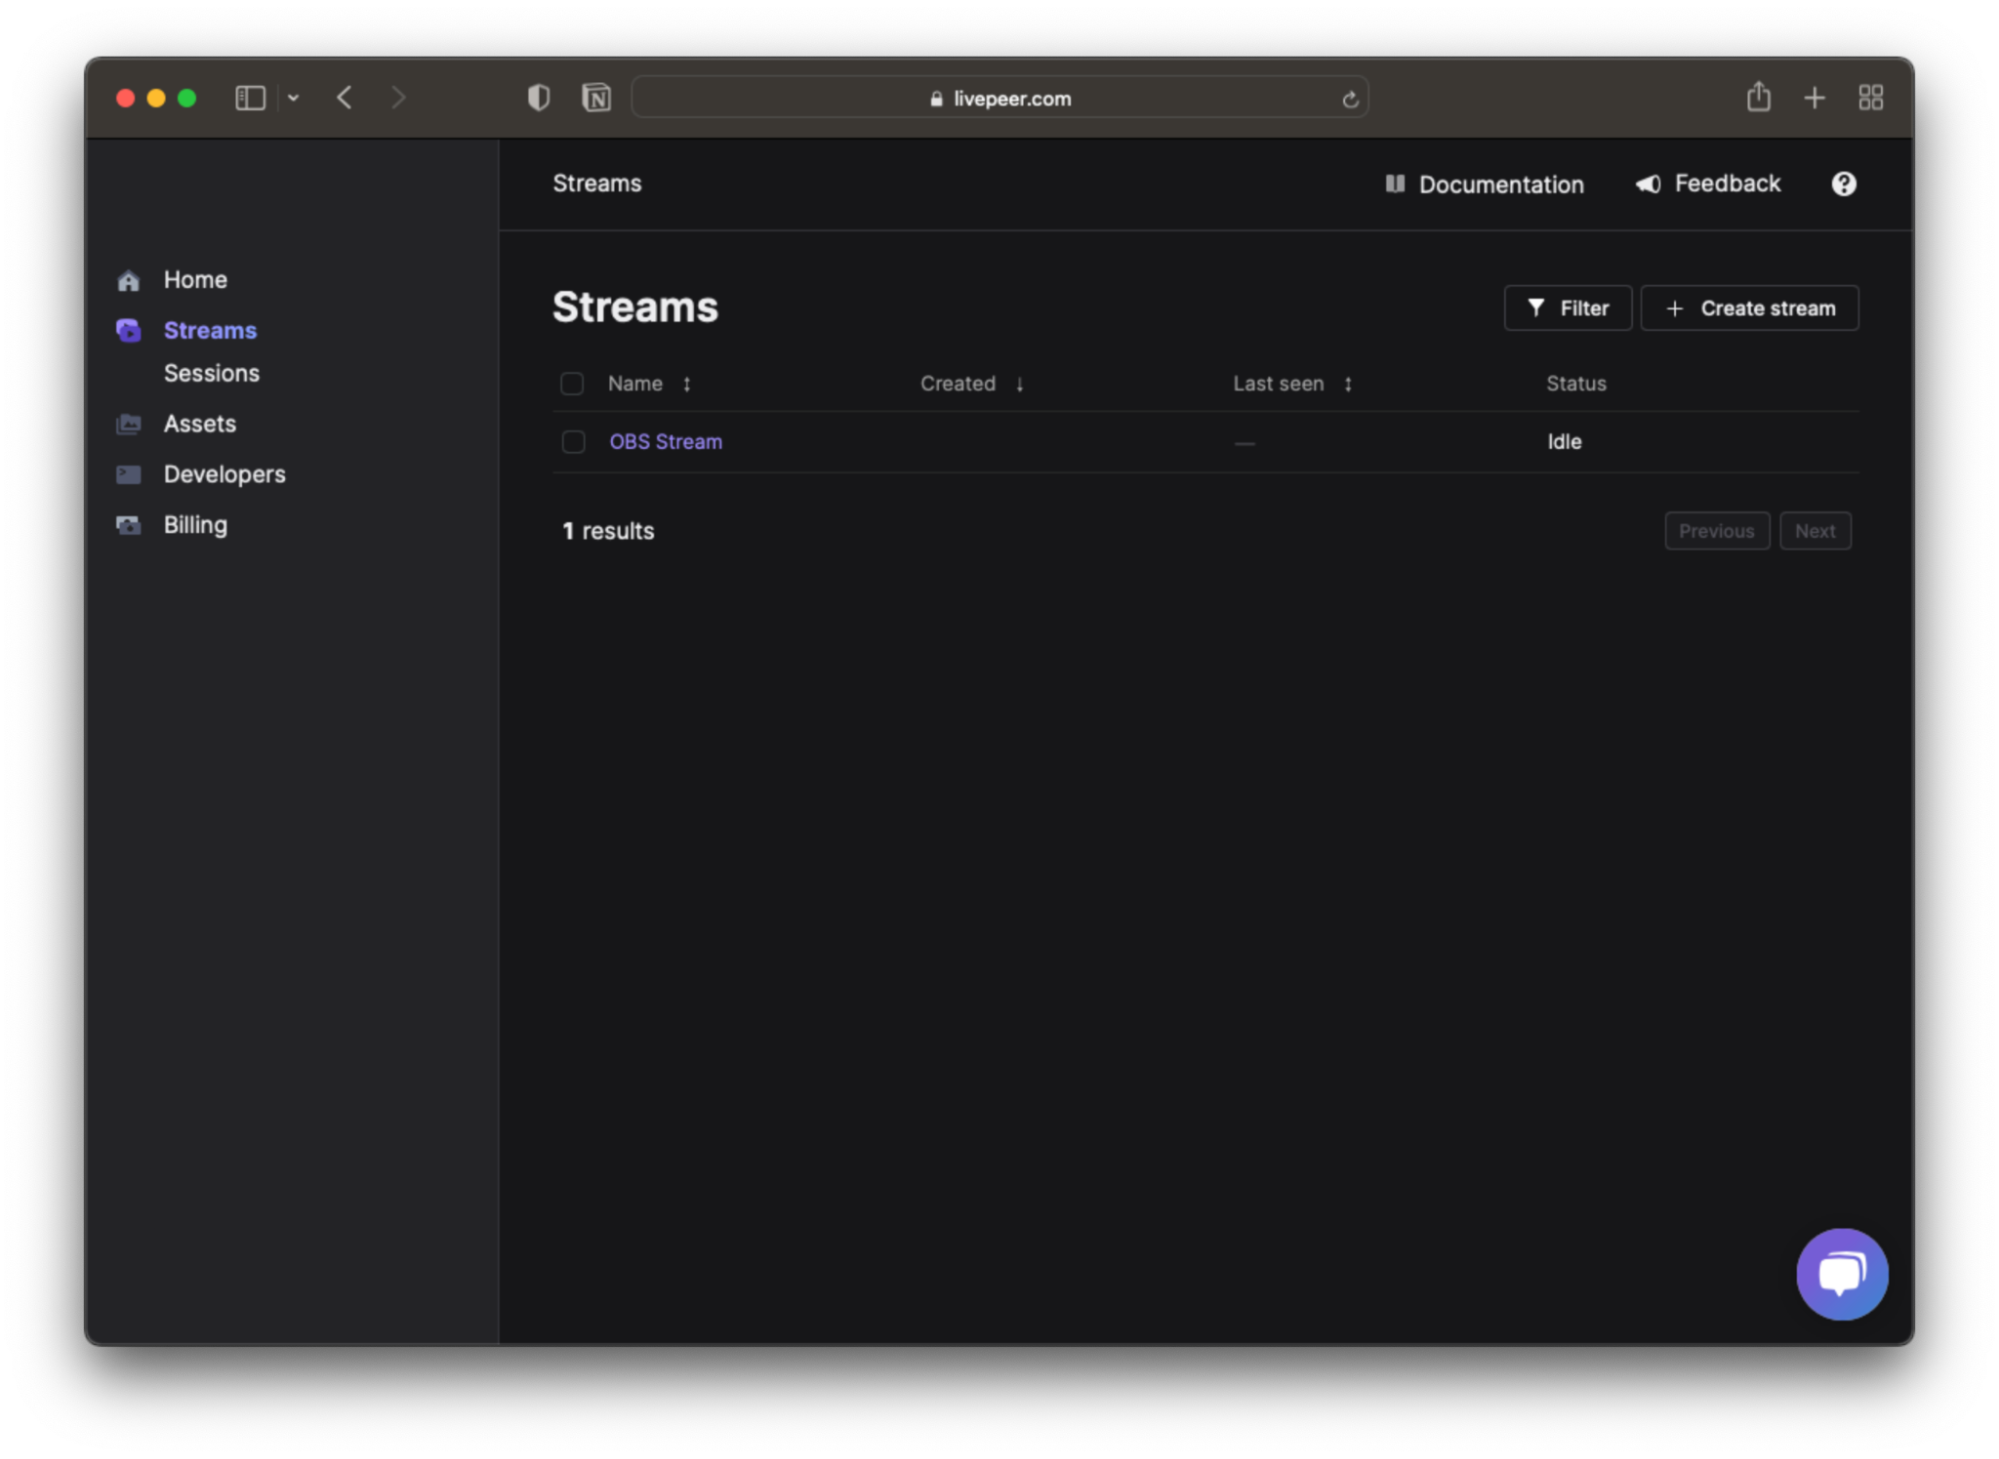
- Select the Streams tab and click the Create Stream button.
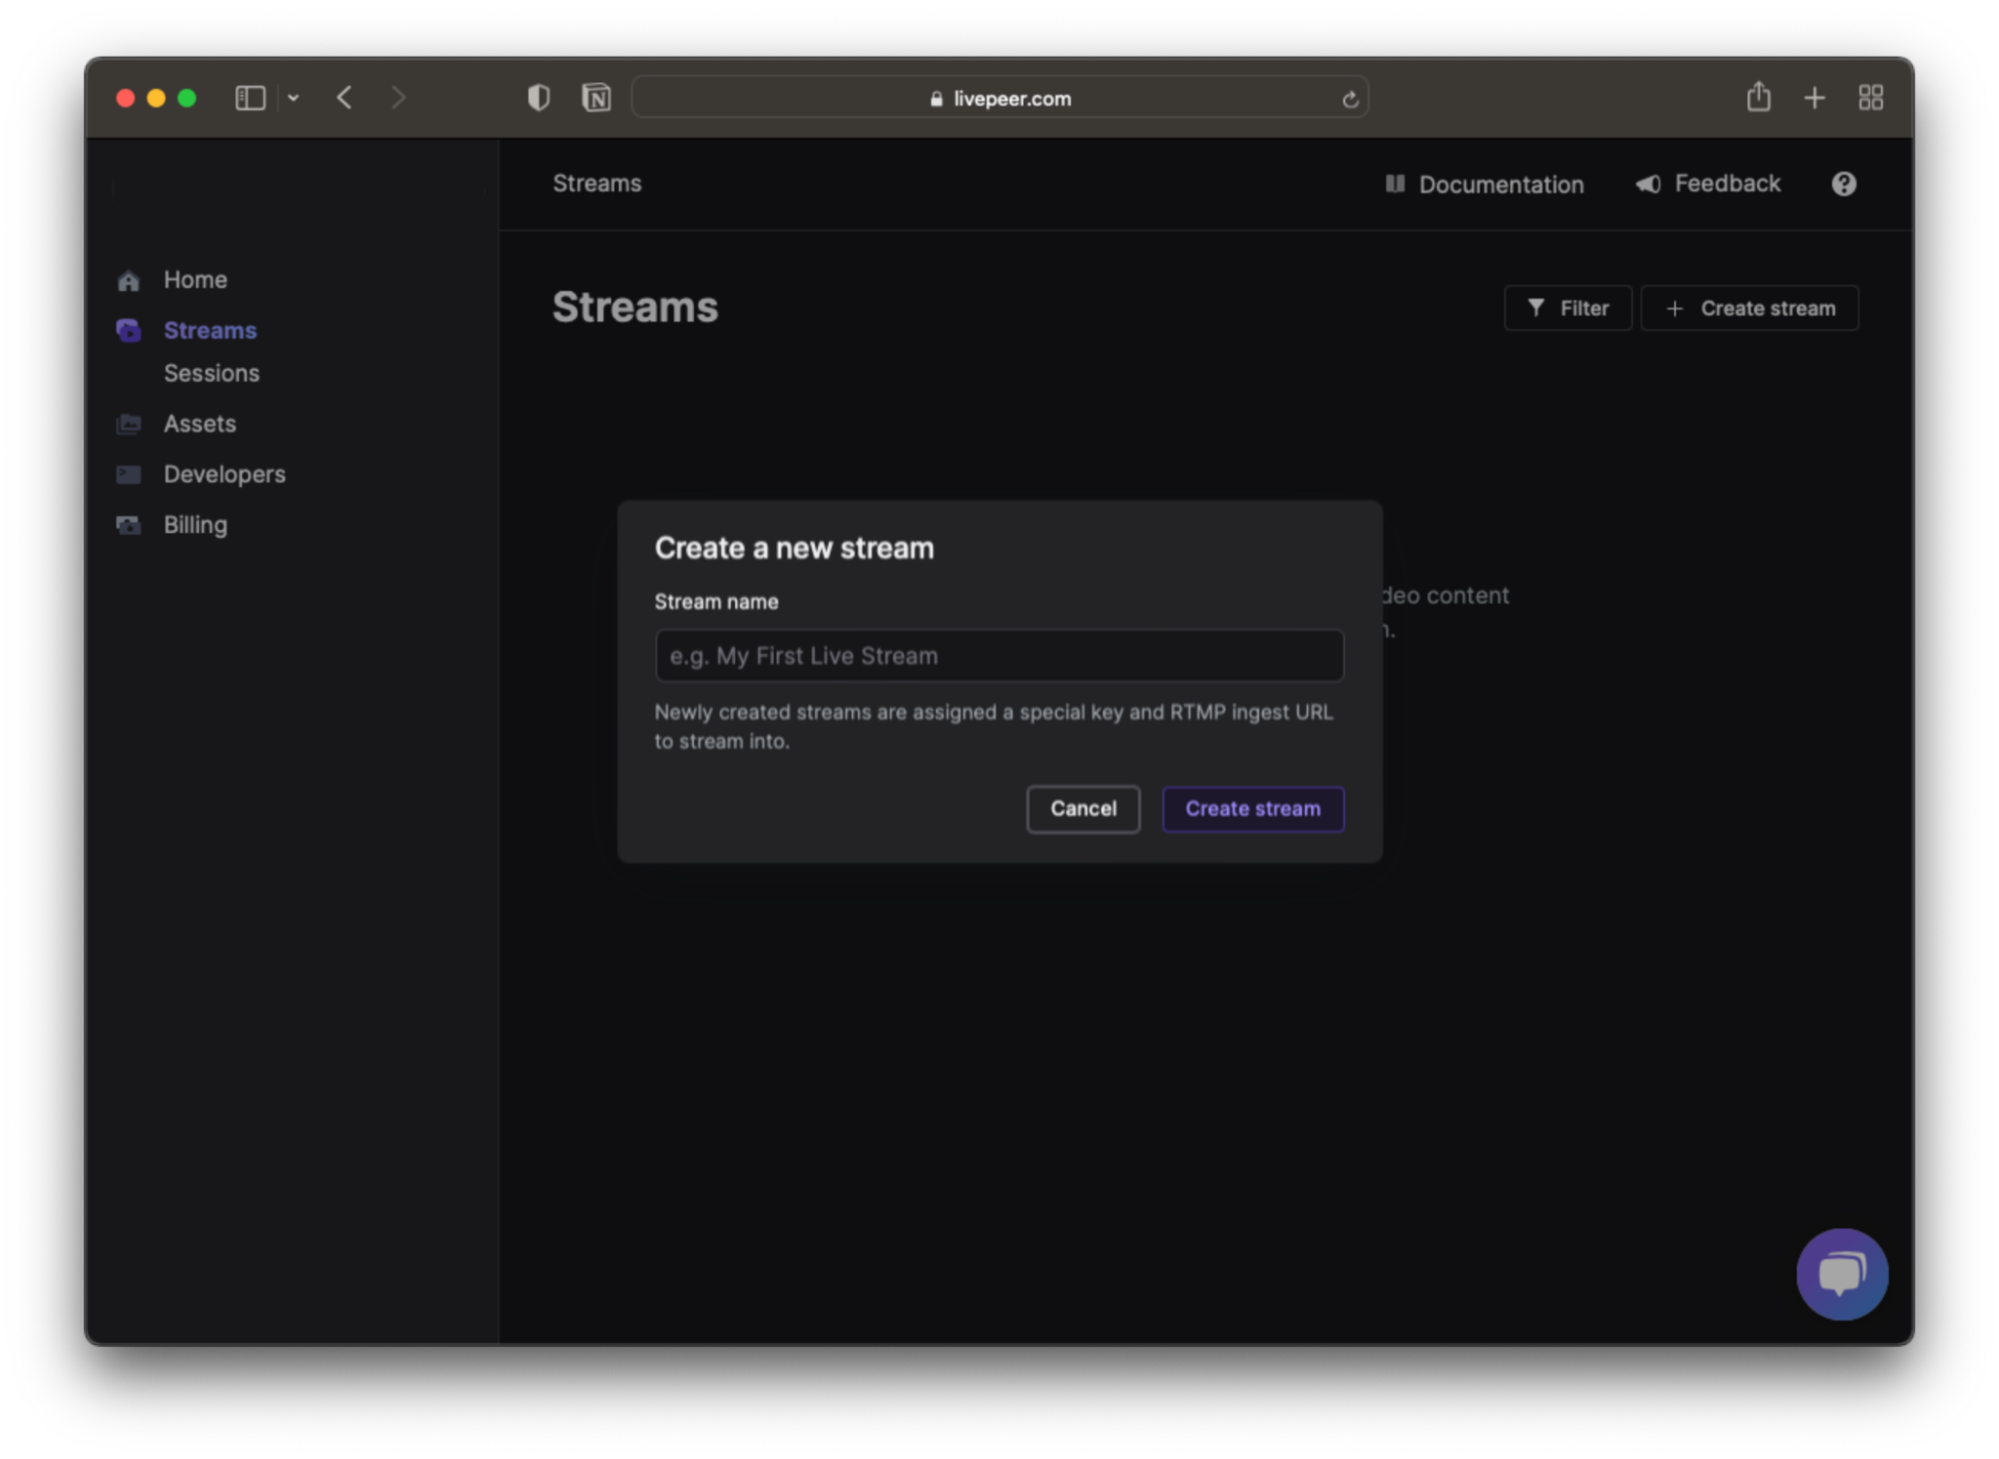
- Name your stream and click the Create Stream button.
Step 3: Verify the stream has been created by going to the dashboard
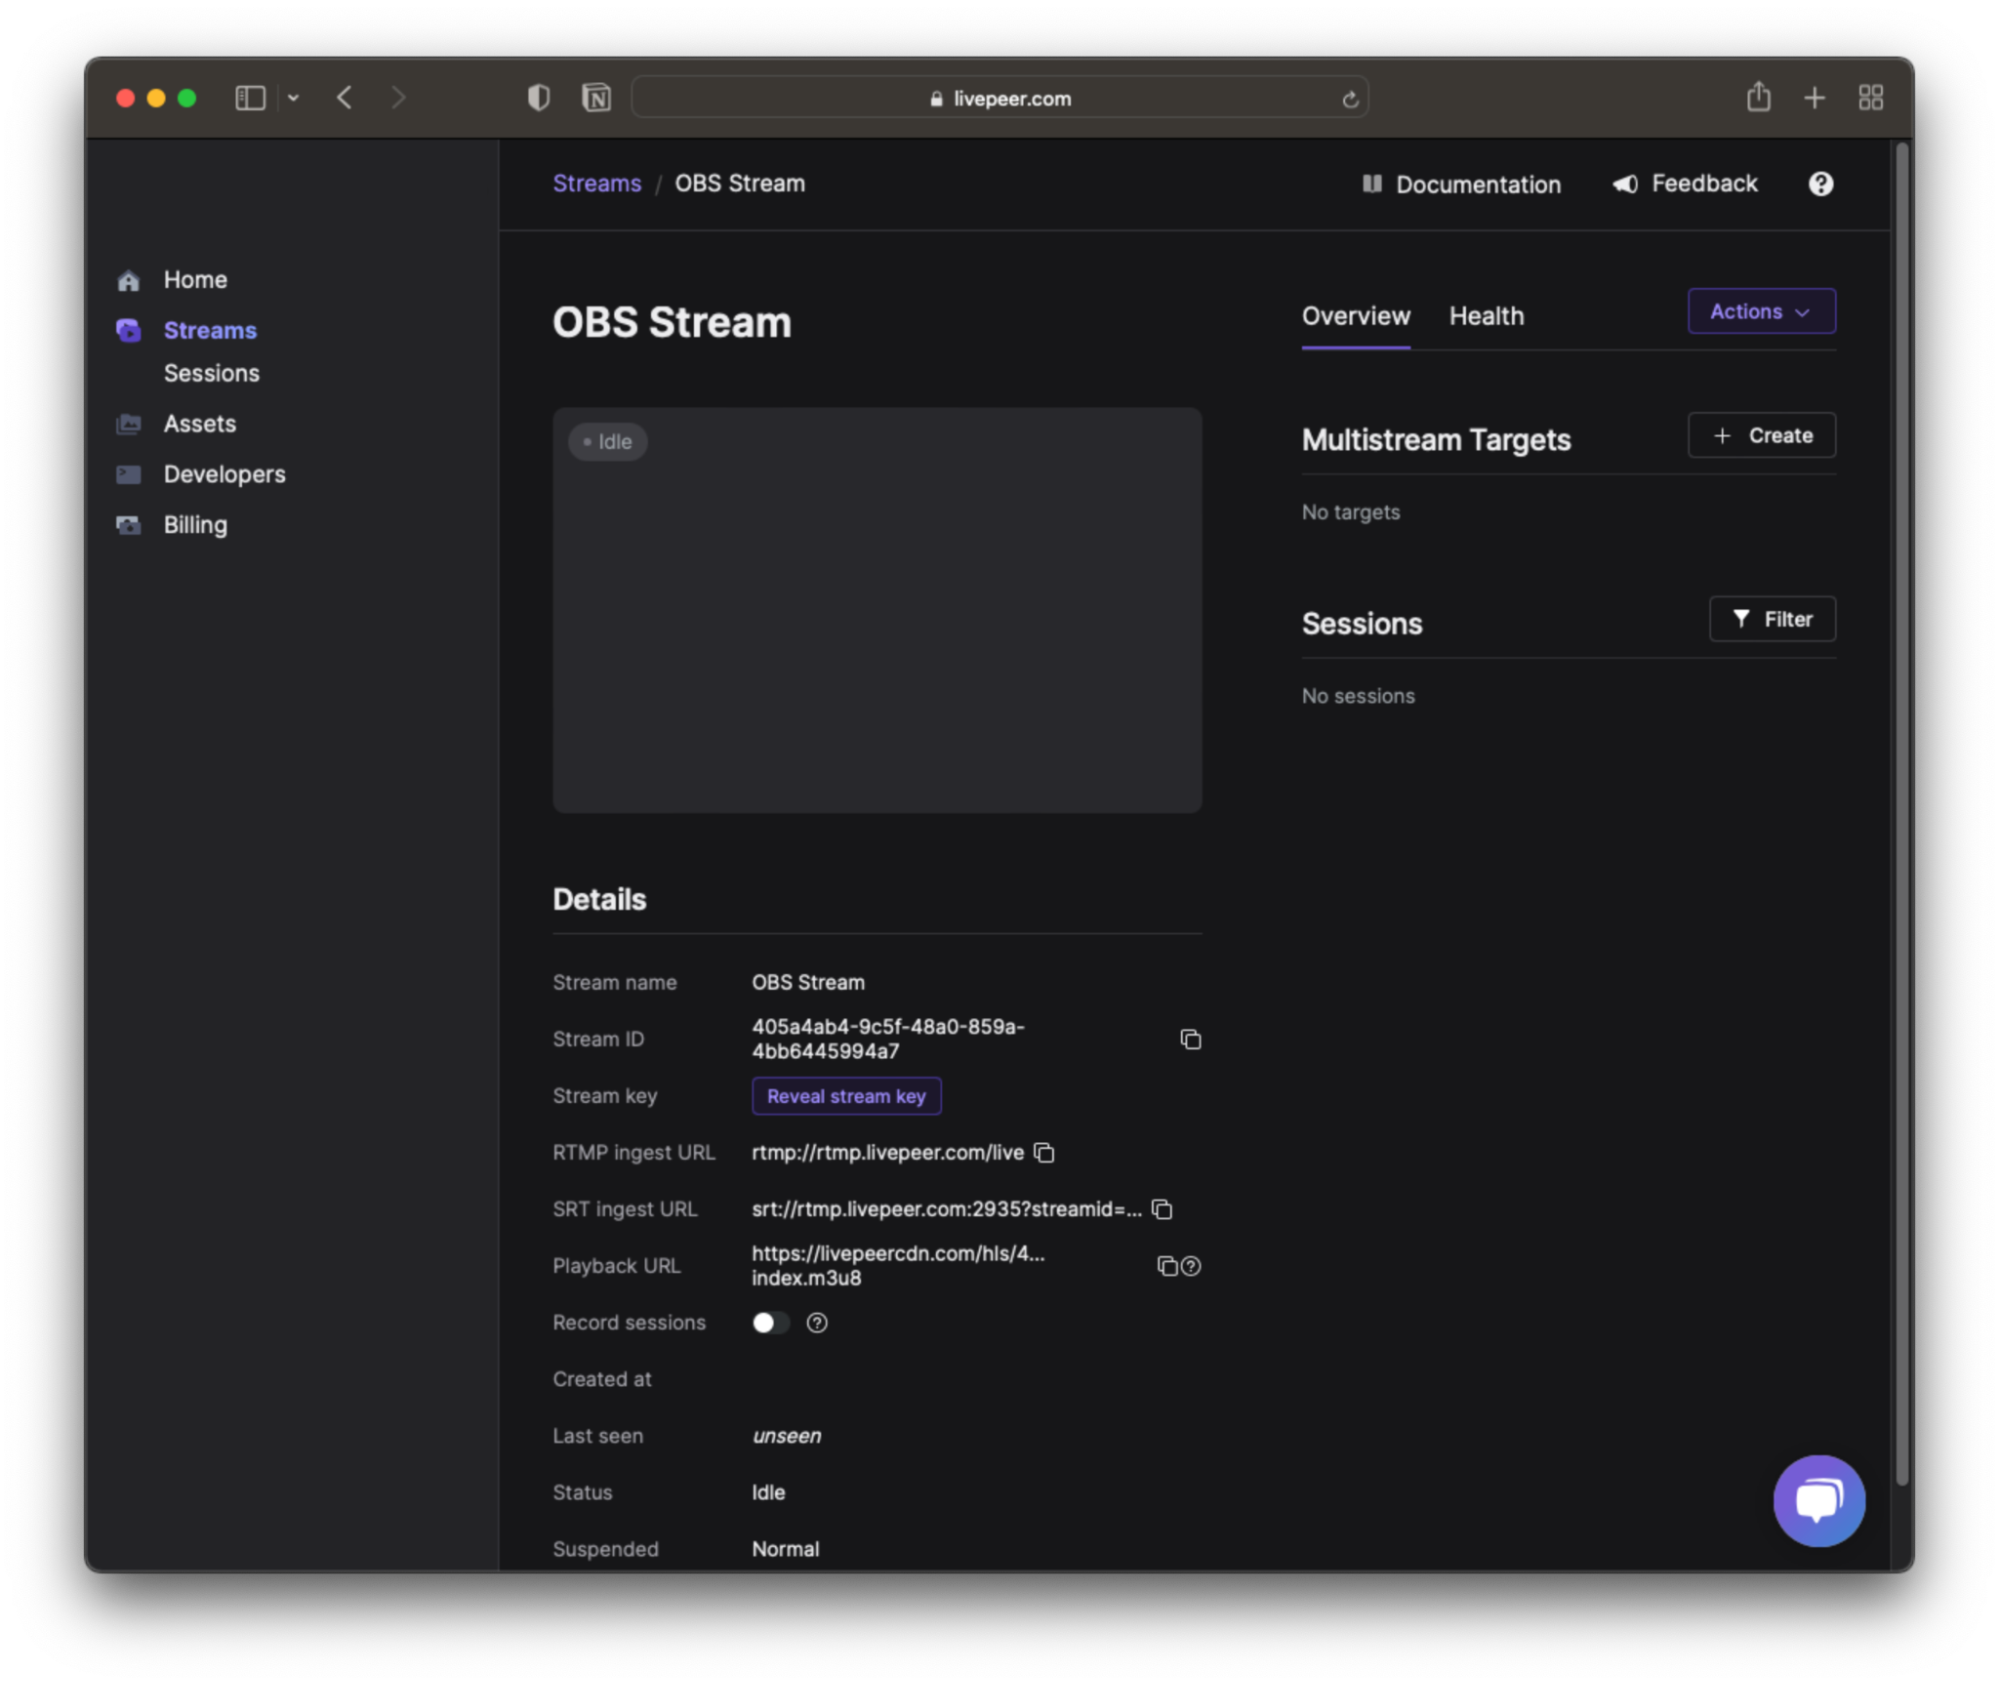
- Click on the stream name, which should take you to the dashboard.
- Copy RTMP ingest URL and stream key to use in the OBS settings.
Step 4: Download OBS and setup
- Download OBS for free and install it
- Open OBS and create a source.
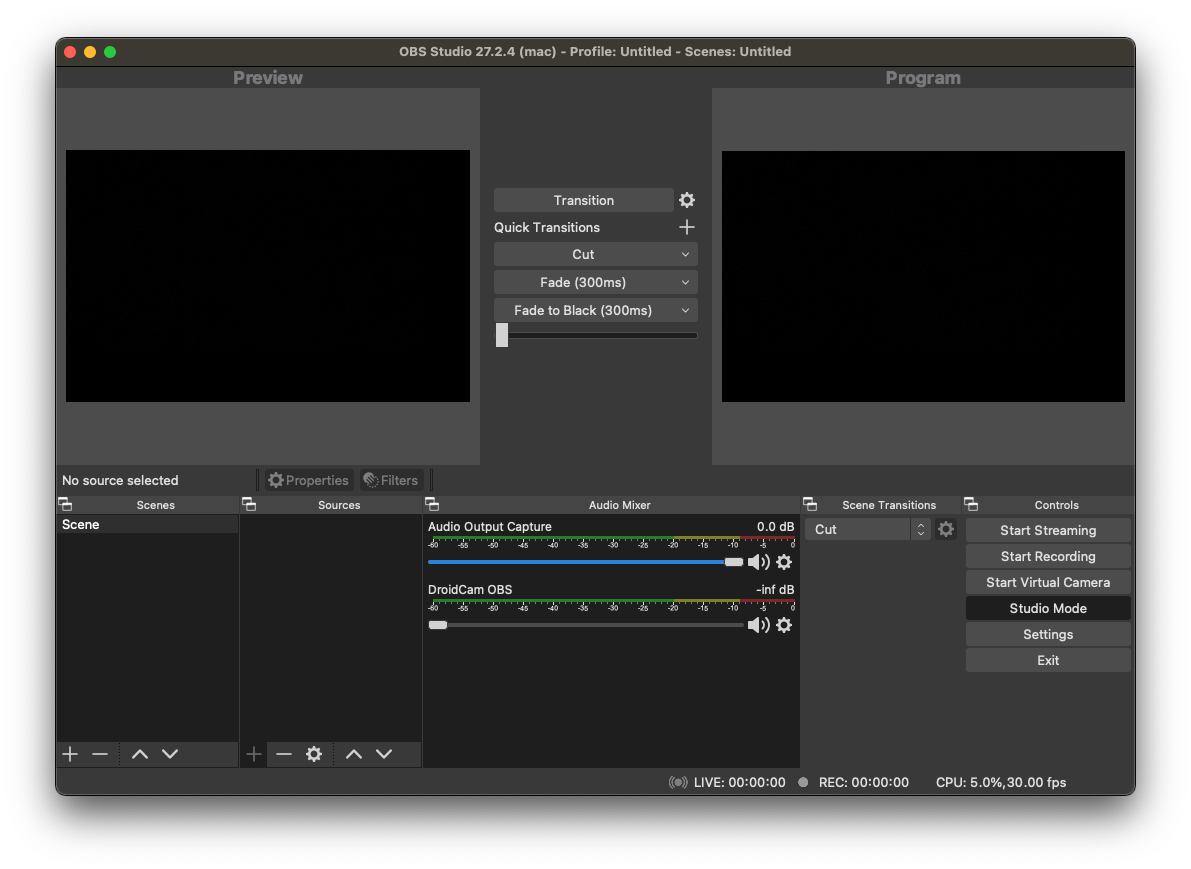
- Go to the settings.
- Select Stream settings.
- Select custom for services
- Copy and paste the RTMP ingest URL and Stream Key and paste it into the “Server” and “Stream Key” fields.
- RTMP ingest URL and Stream Key can be found on the dashboard on the Stream Detail page after creating a stream or in the API.

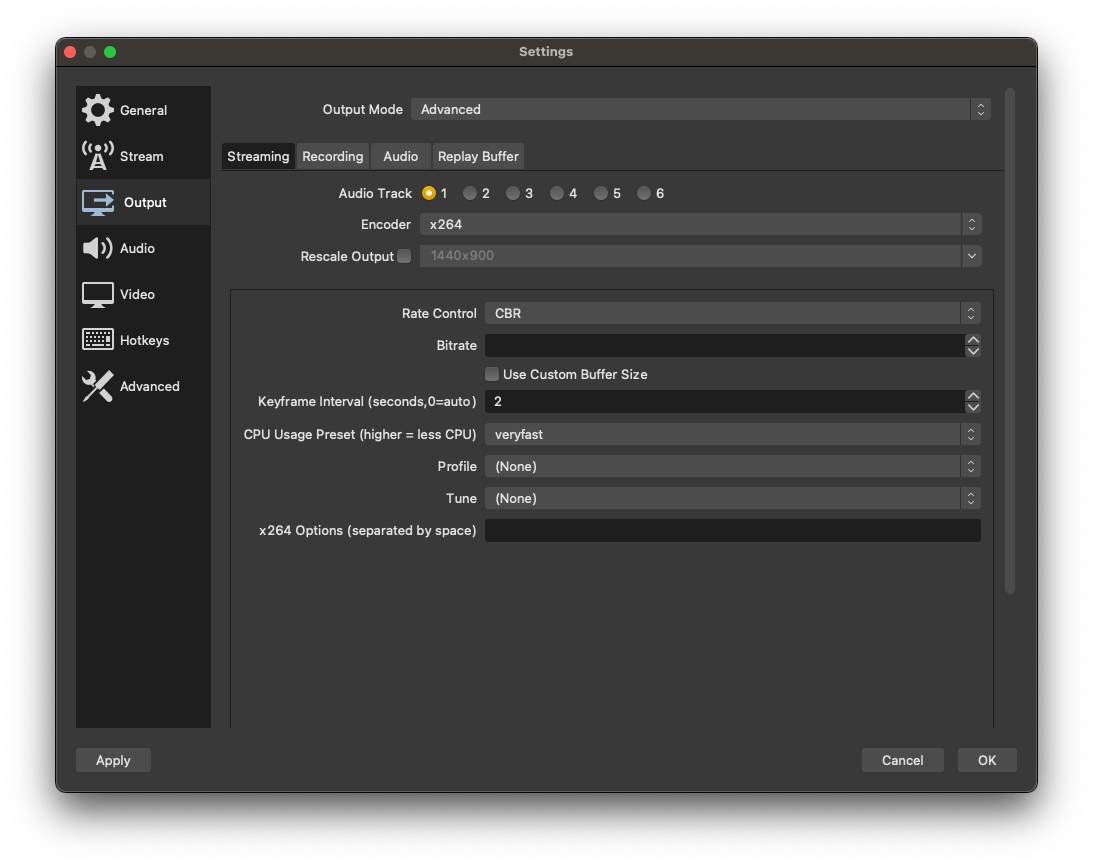
- Select the Output settings and the Streaming tab.
- In the Output Mode select Advance.
- Set the keyframe interval to 2 seconds.
- Save your settings.
- Select the source of your stream and click the Start Streaming button.
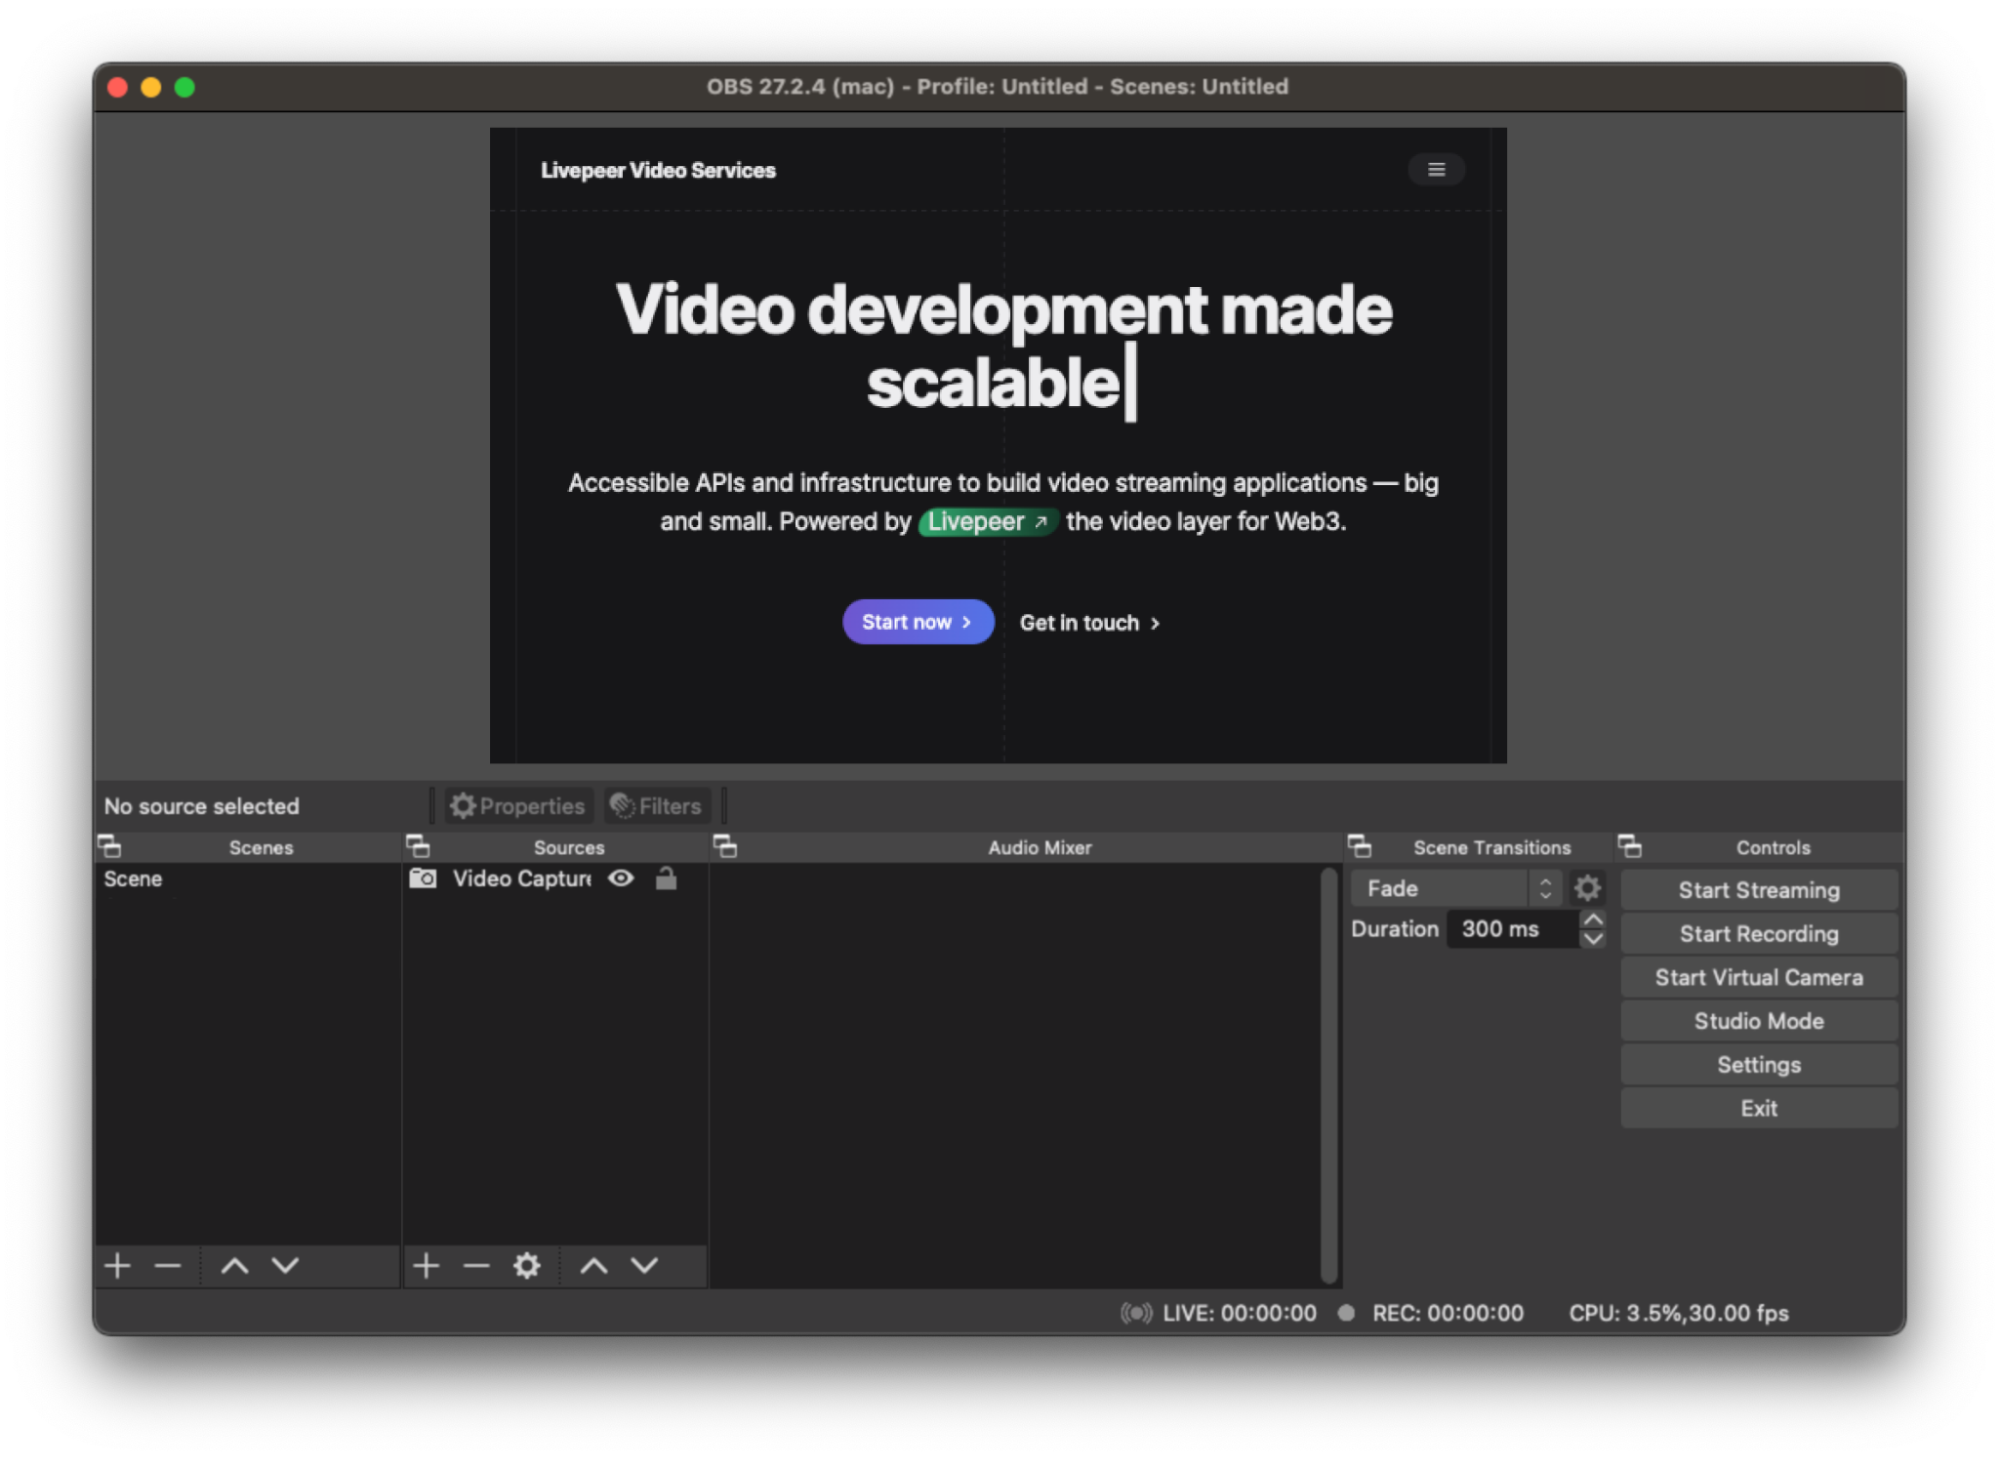
Step 5: Confirm the Stream in Livepeer Dashboard
- Go to the Livepeer Video Services dashboard.
- There should be a Healthy and Active status for the stream.
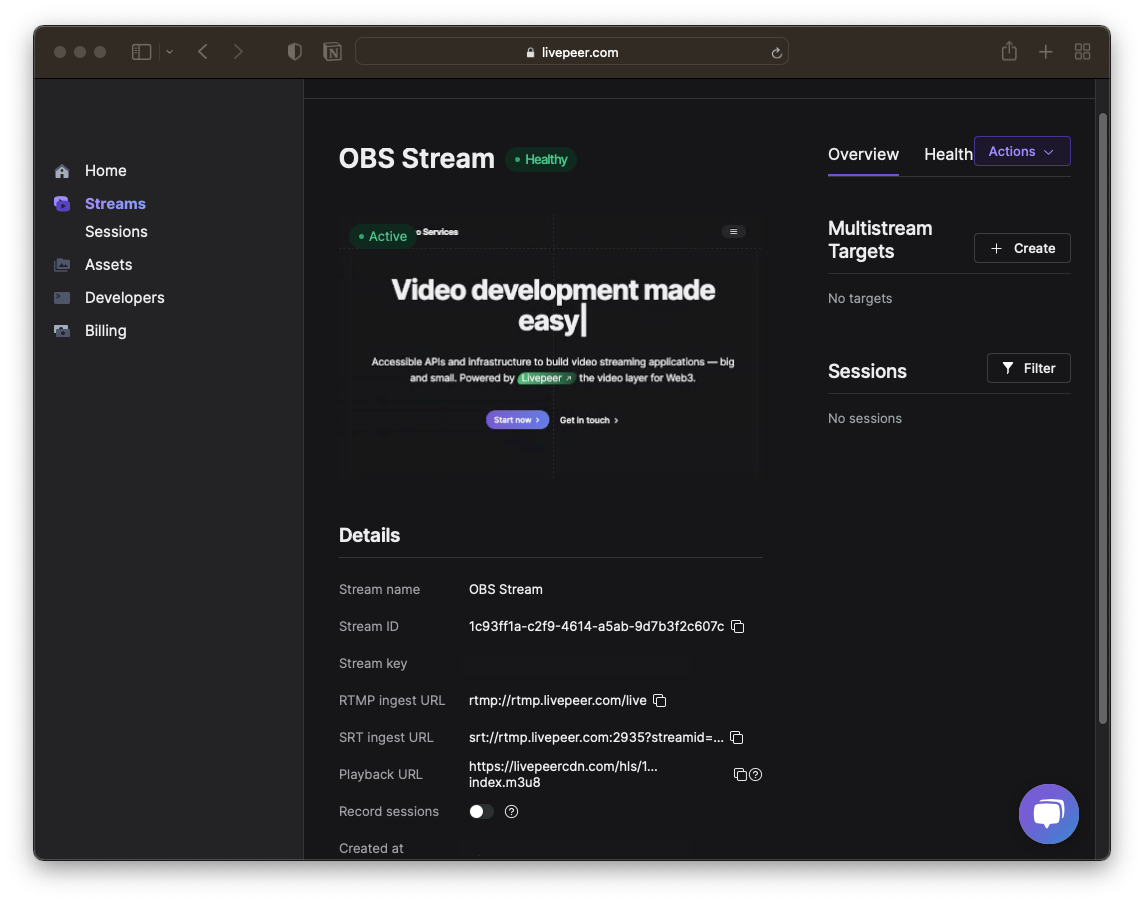
- Click on the Health tab to confirm the Transcoding and RealTime has a Healthy status.
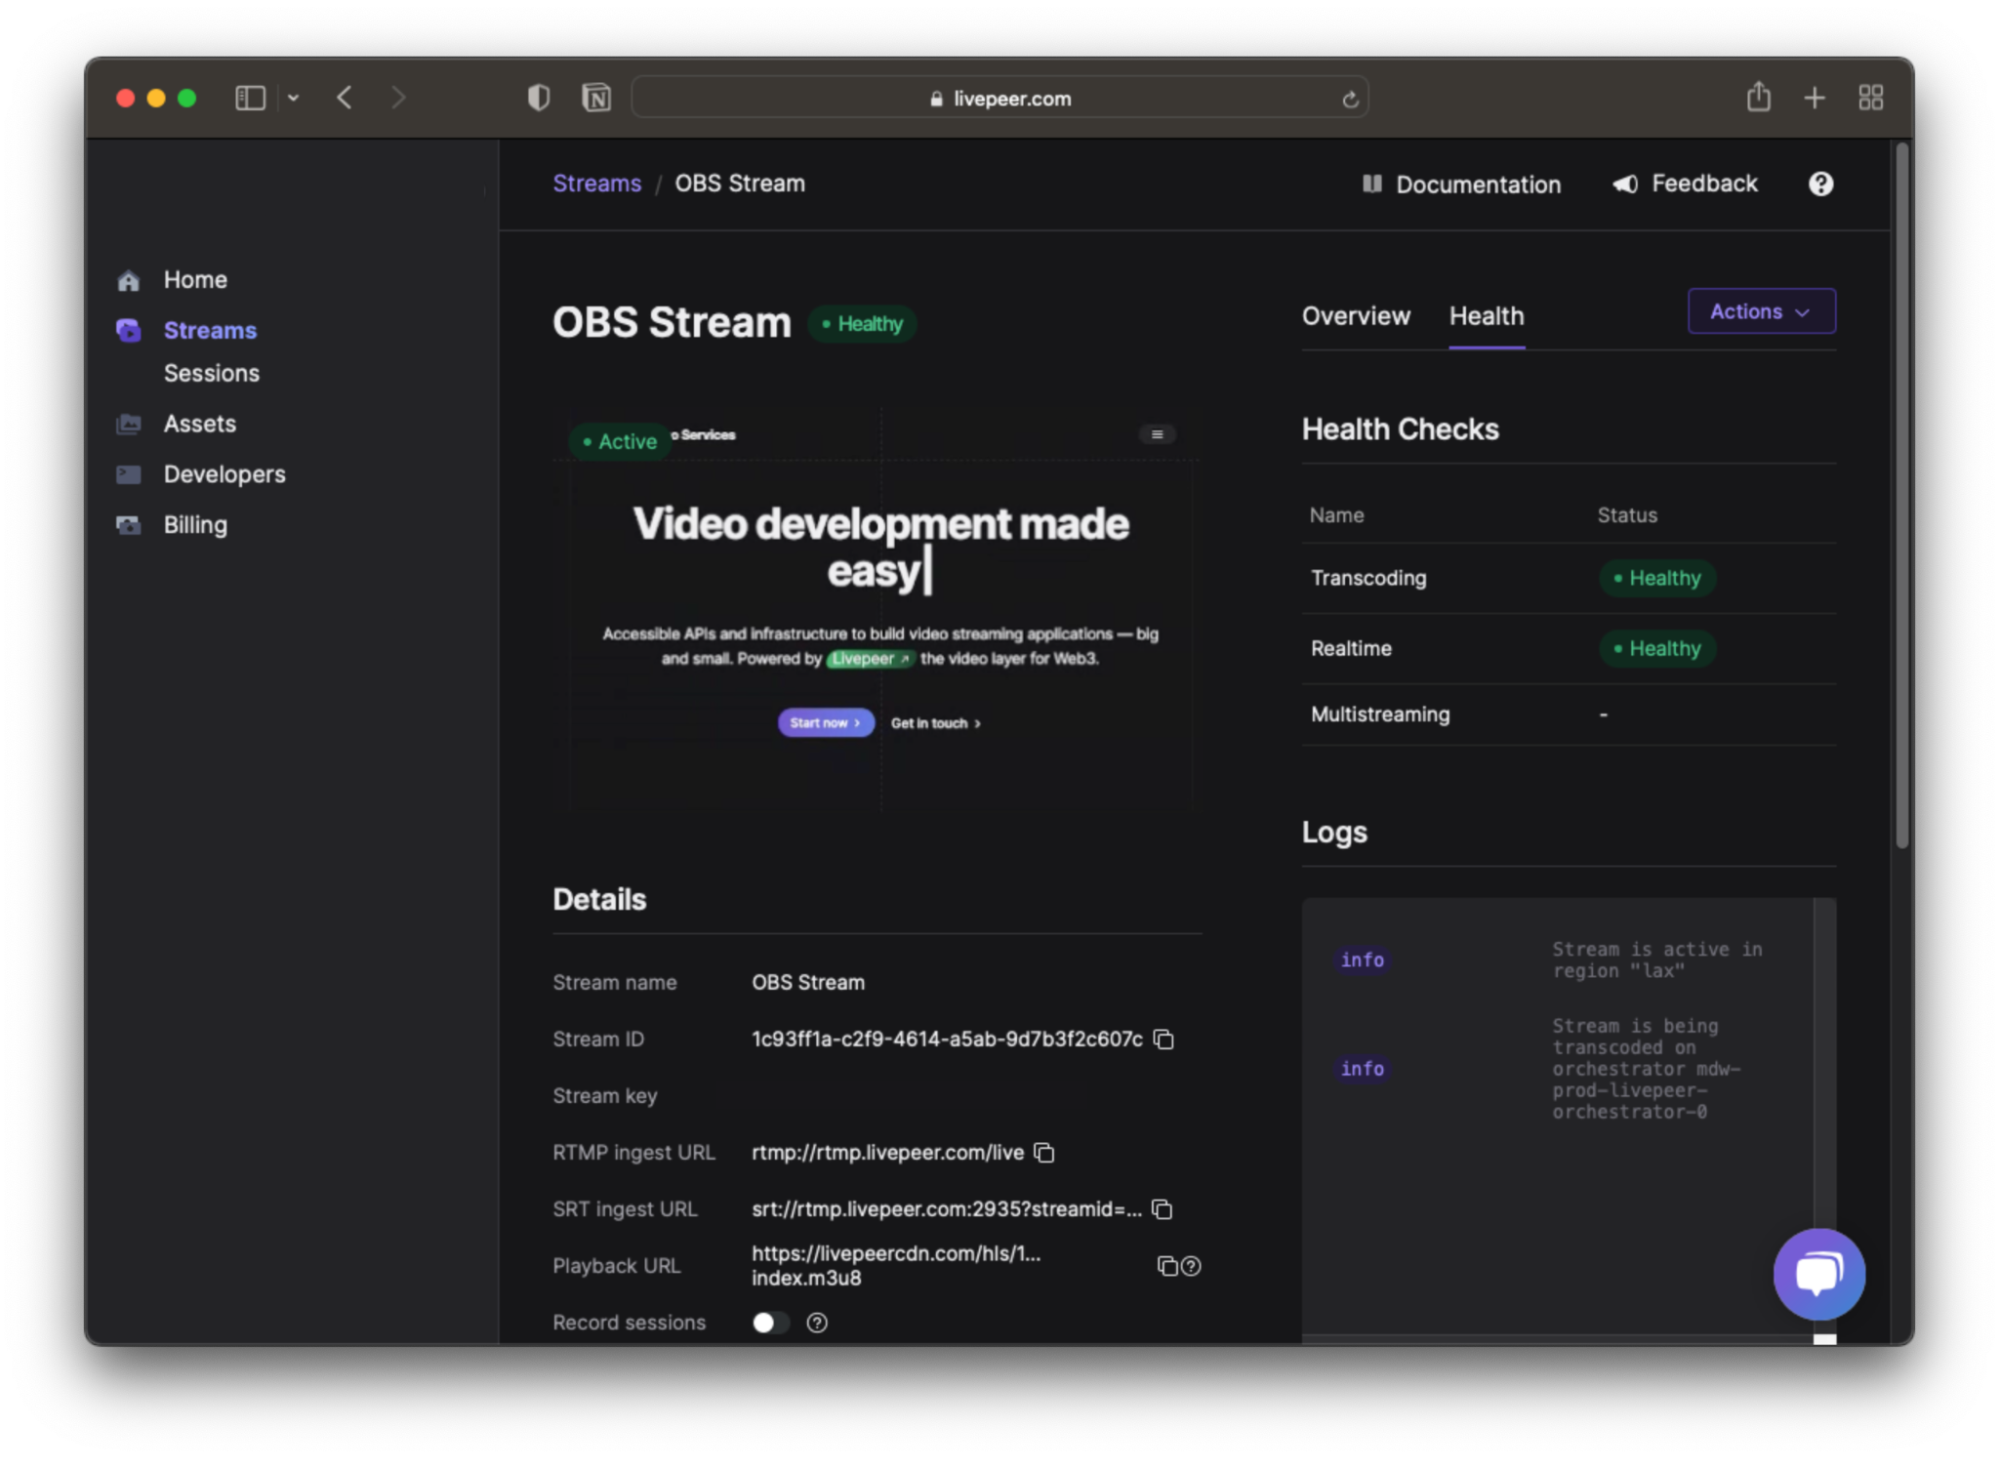
On this tab, you’ll be able to see health metrics and logs for your streams to ensure that your stream is high quality for your viewers. For more information on how to use these health metrics, check out our Monitoring Stream Health guide.
Step 6: Confirm playback URL
- Copy the Playback URL from the dashboard.
- Go to the test player and paste it into the Playback URL field.
- The Source Stream and Source +Transcode Renditions should both be streaming.
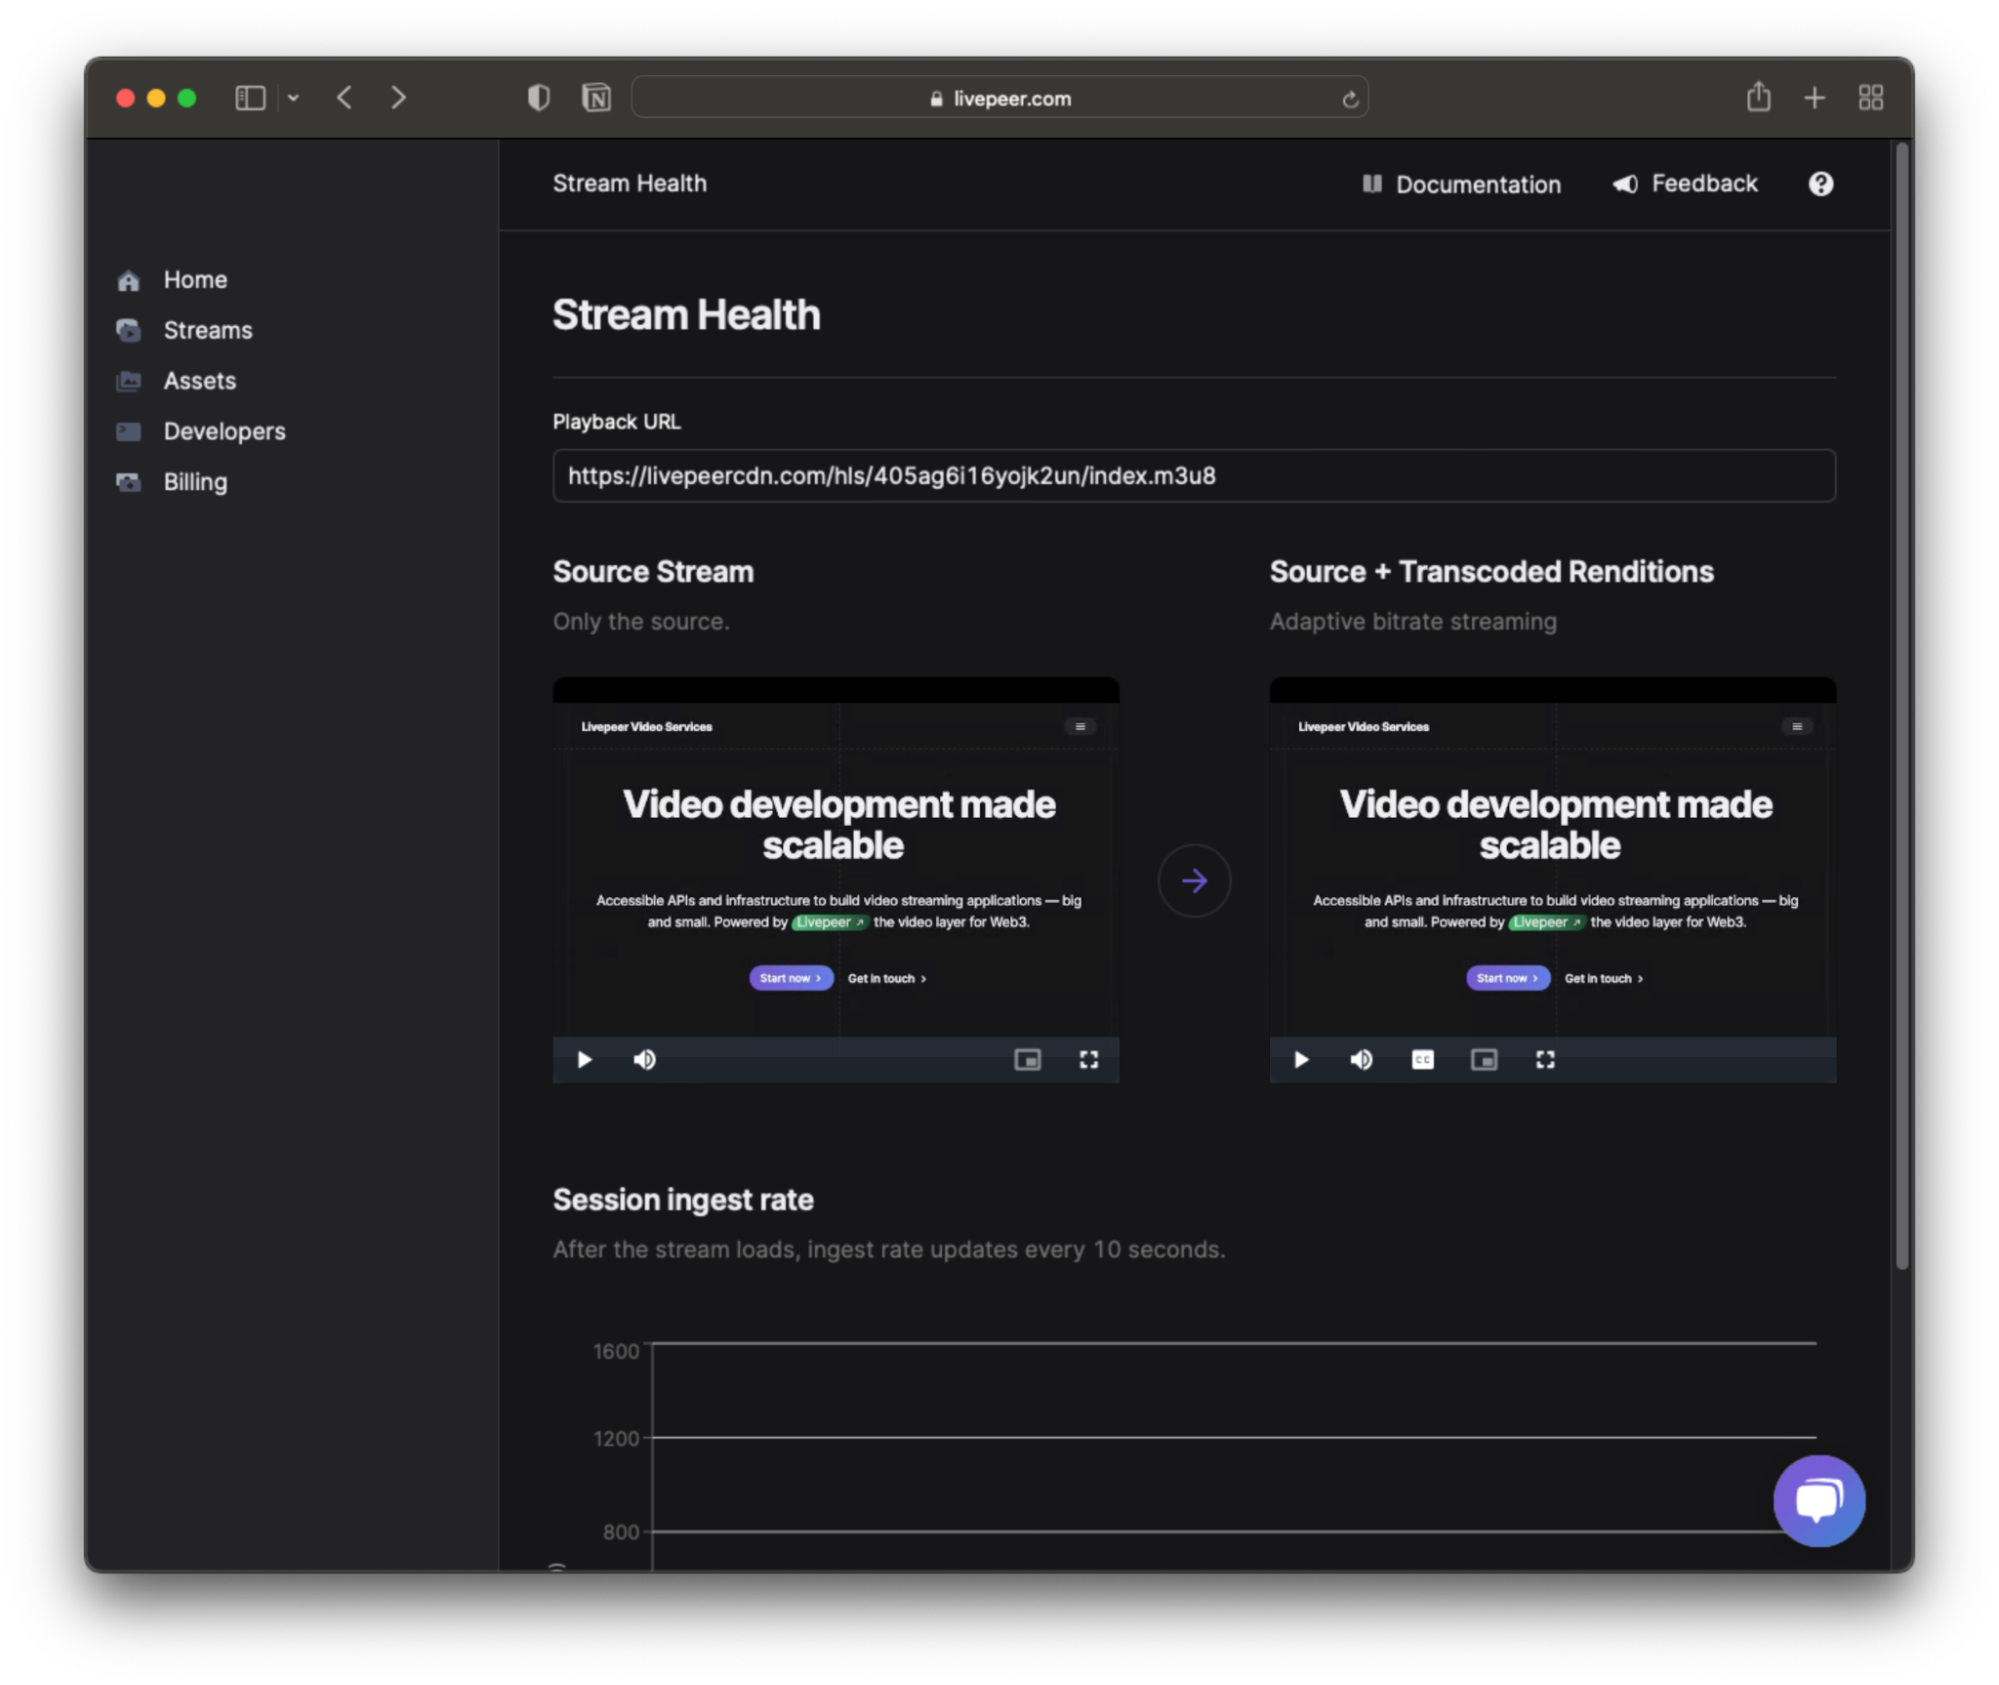
You’re live streaming! If you’re ready to start building with Livepeer Video Services, check out our docs and API documentation to get started.